Food Photography
Don't Drool on Your Lens! Essential Tips for Photographing Food
Food photography is an art form that turns everyday meals into mouthwatering masterpieces. Whether you're a food blogger, restaurant owner, or just love capturing your culinary creations, these tips will help you elevate your food photography game.
Gear Up
- Camera: Look for a camera with good low-light performance and multiple lens options (wide and telephoto).
- Lens: A macro lens allows you to get super close to your subject, capturing the intricate details of textures and dewdrops. If you don't have a macro lens, a zoom lens can work too.
Light It Up
- Natural Light: Whenever possible, use natural light for the most flattering results. Find a window with soft, diffused light. Avoid harsh midday sun, which creates unappealing shadows.
- LED Lighting: For consistency with color, LED lighting is a great choice. It's dimmable, cooler than halogen, and uses less power. LED lighting is easier to visualize than flash and can be diffused with a softbox.
- Bounce the Flash: If natural light isn't available, use an external flash with a diffuser to soften the light. Experiment with bouncing the flash off a wall or ceiling for indirect lighting.
Compose Your Shot
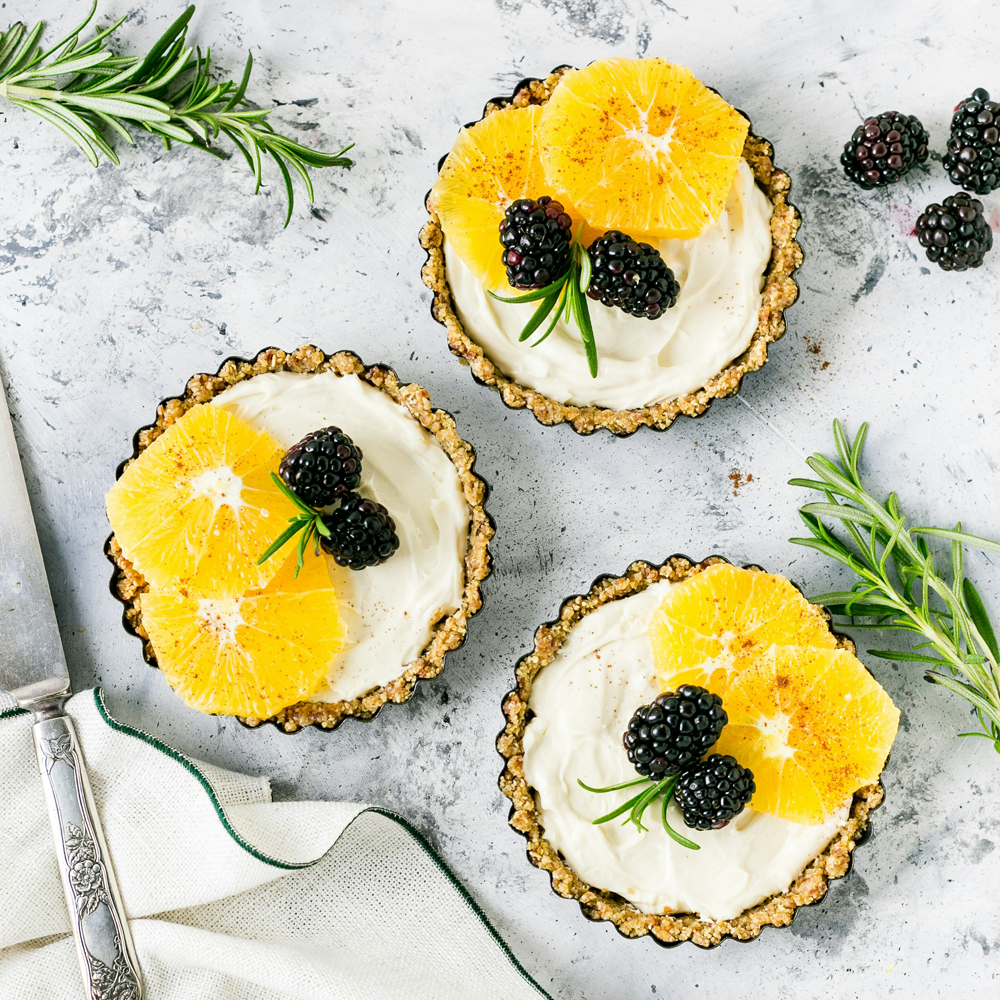
- Rule of Thirds: Imagine dividing your frame into a 3x3 grid. Position your food at the intersection points for visually pleasing compositions.
- Get Down Low: Don't be afraid to get on your level with the food! Low angles can make food appear more grand and emphasize textures.
- Fill the Frame: Get close enough to eliminate distracting background clutter and make the food the star of the show.
Style and Polish
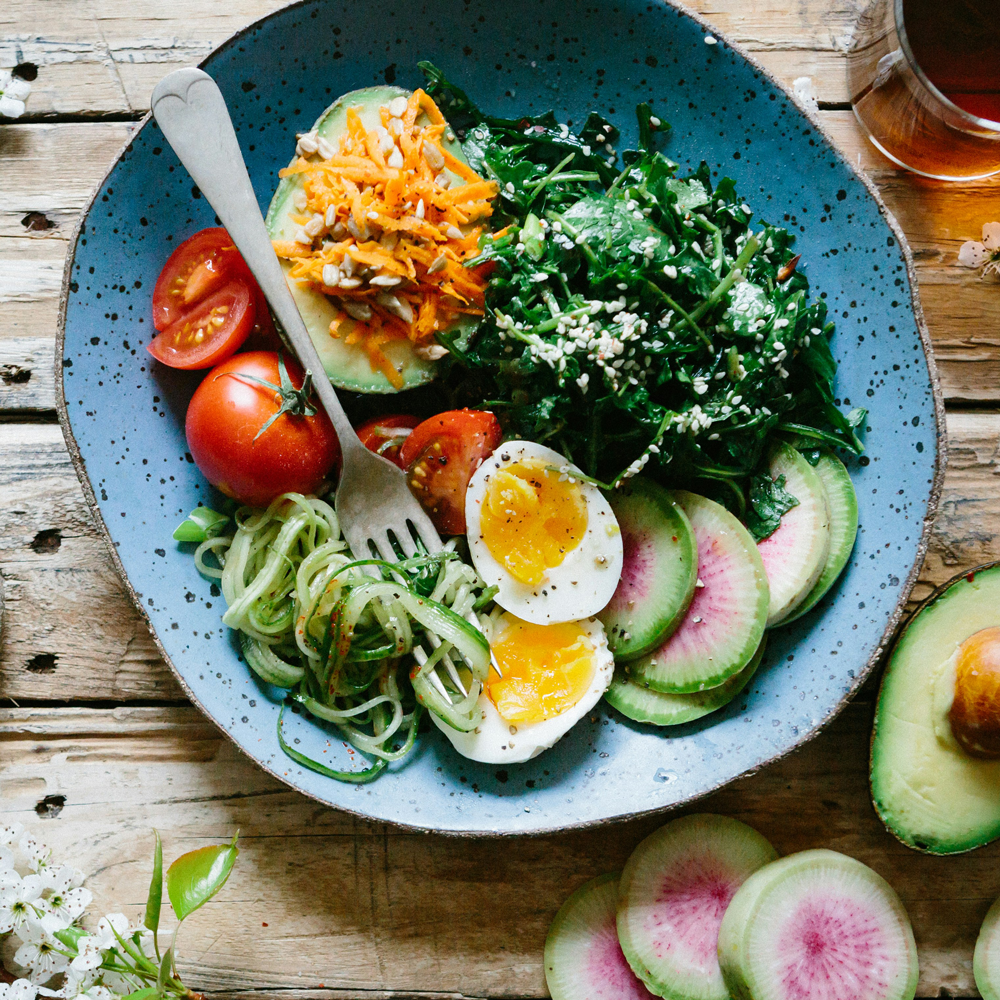
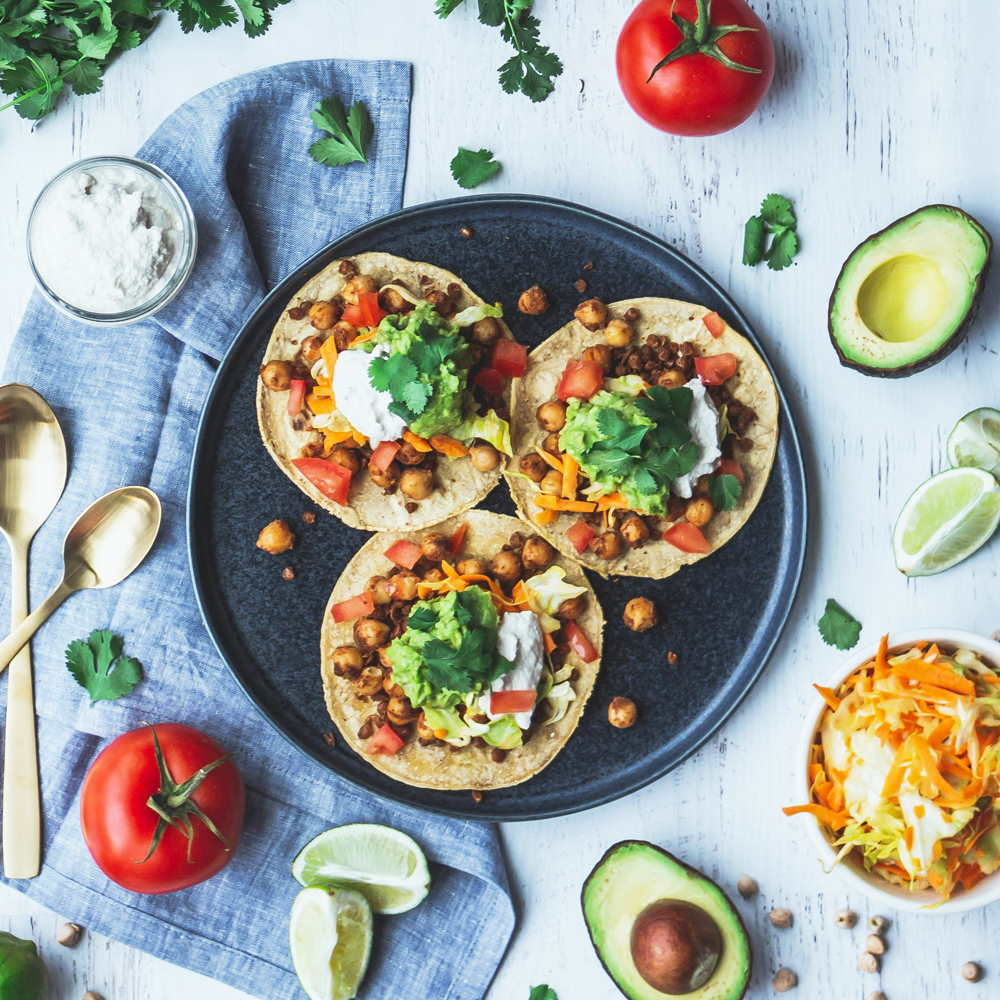
- Background Matters: Use a clean, uncluttered background that complements the colors of the food. Solid colors, natural textures (like wood), or blurred backgrounds all work well.
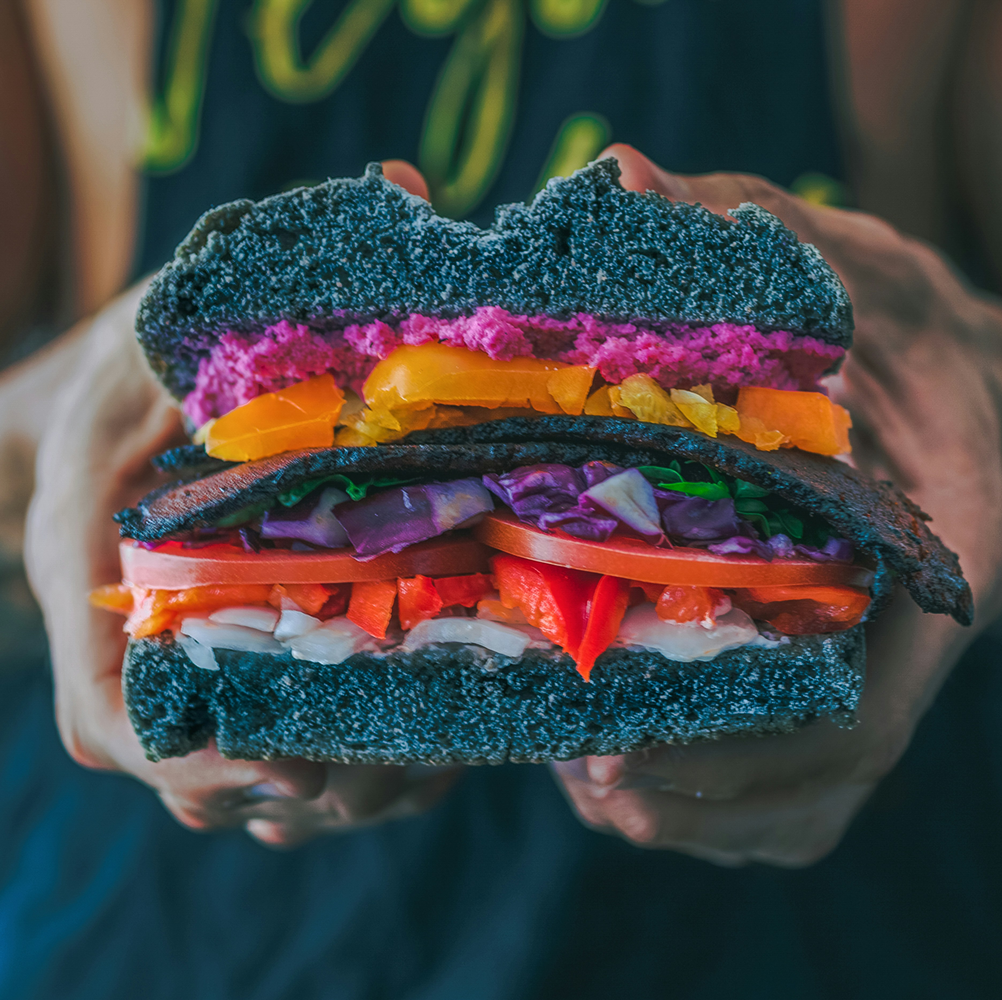
- Prop Play: Use plates, napkins, utensils, and other props to add context and tell a story about the dish. But avoid going overboard – keep it simple and stylish.
- Editing Magic: Basic photo editing software can take your food photos to the next level. Adjust lighting, crop the image, and enhance colors without going overboard with unrealistic saturation.
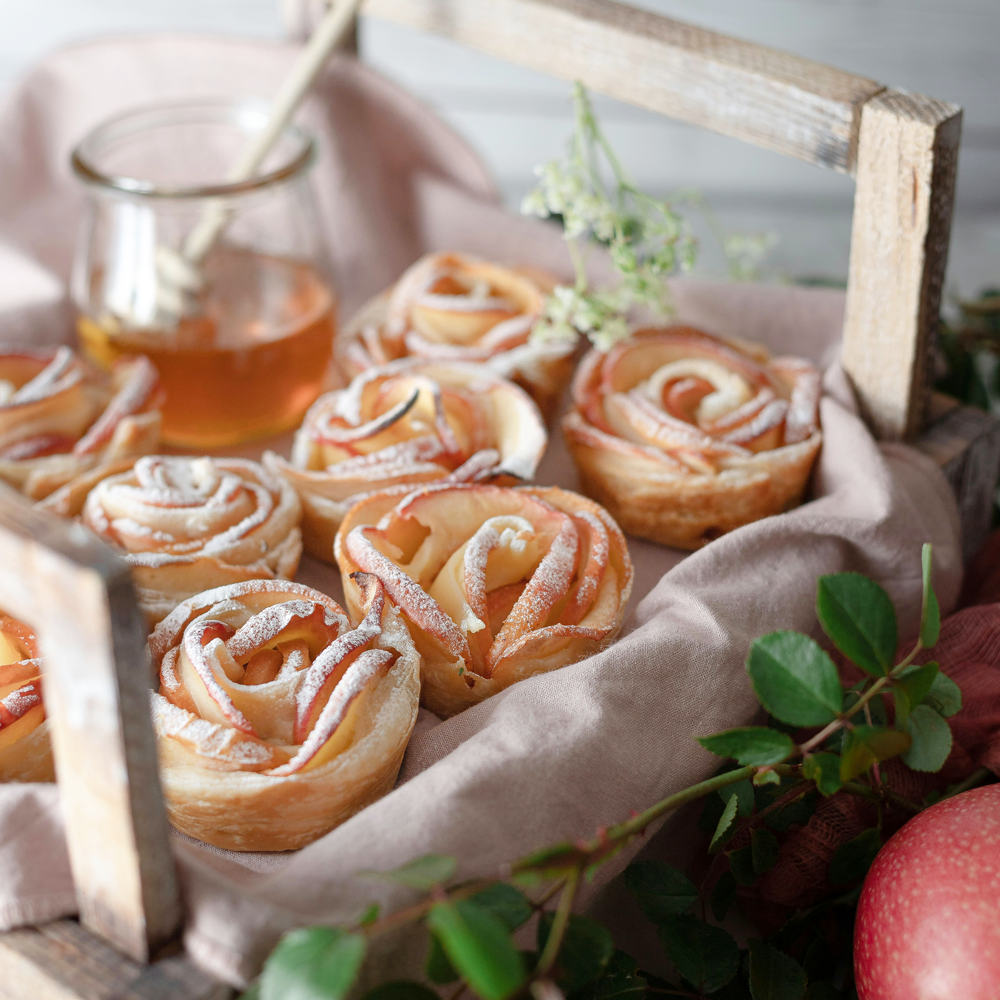
Bonus Tip: Don't forget the finishing touches! Garnish your dish with fresh herbs, a sprinkle of spices, or a drizzle of sauce for that extra bit of visual appeal.
With a little practice and these helpful pointers, you'll be well on your way to capturing food photos that are as delicious-looking as the dishes themselves. So grab your camera, find some beautiful food, and get snapping!
Get the Gear
Mirrorless or DSLR Camera: If you're looking for more creative control, a mirrorless or DSLR camera with interchangeable lenses offers greater flexibility.
Macro Lens: Use a macro lens to fill your frame with tack sharp detail. A lens in the 85-105mm range allows the best working distance from your subject. A 50mm lens will also do the job, but you will need to shoot closer to subject. The 85-105mm lenses allow use of light and reflectors without casting a shadow on your subject.
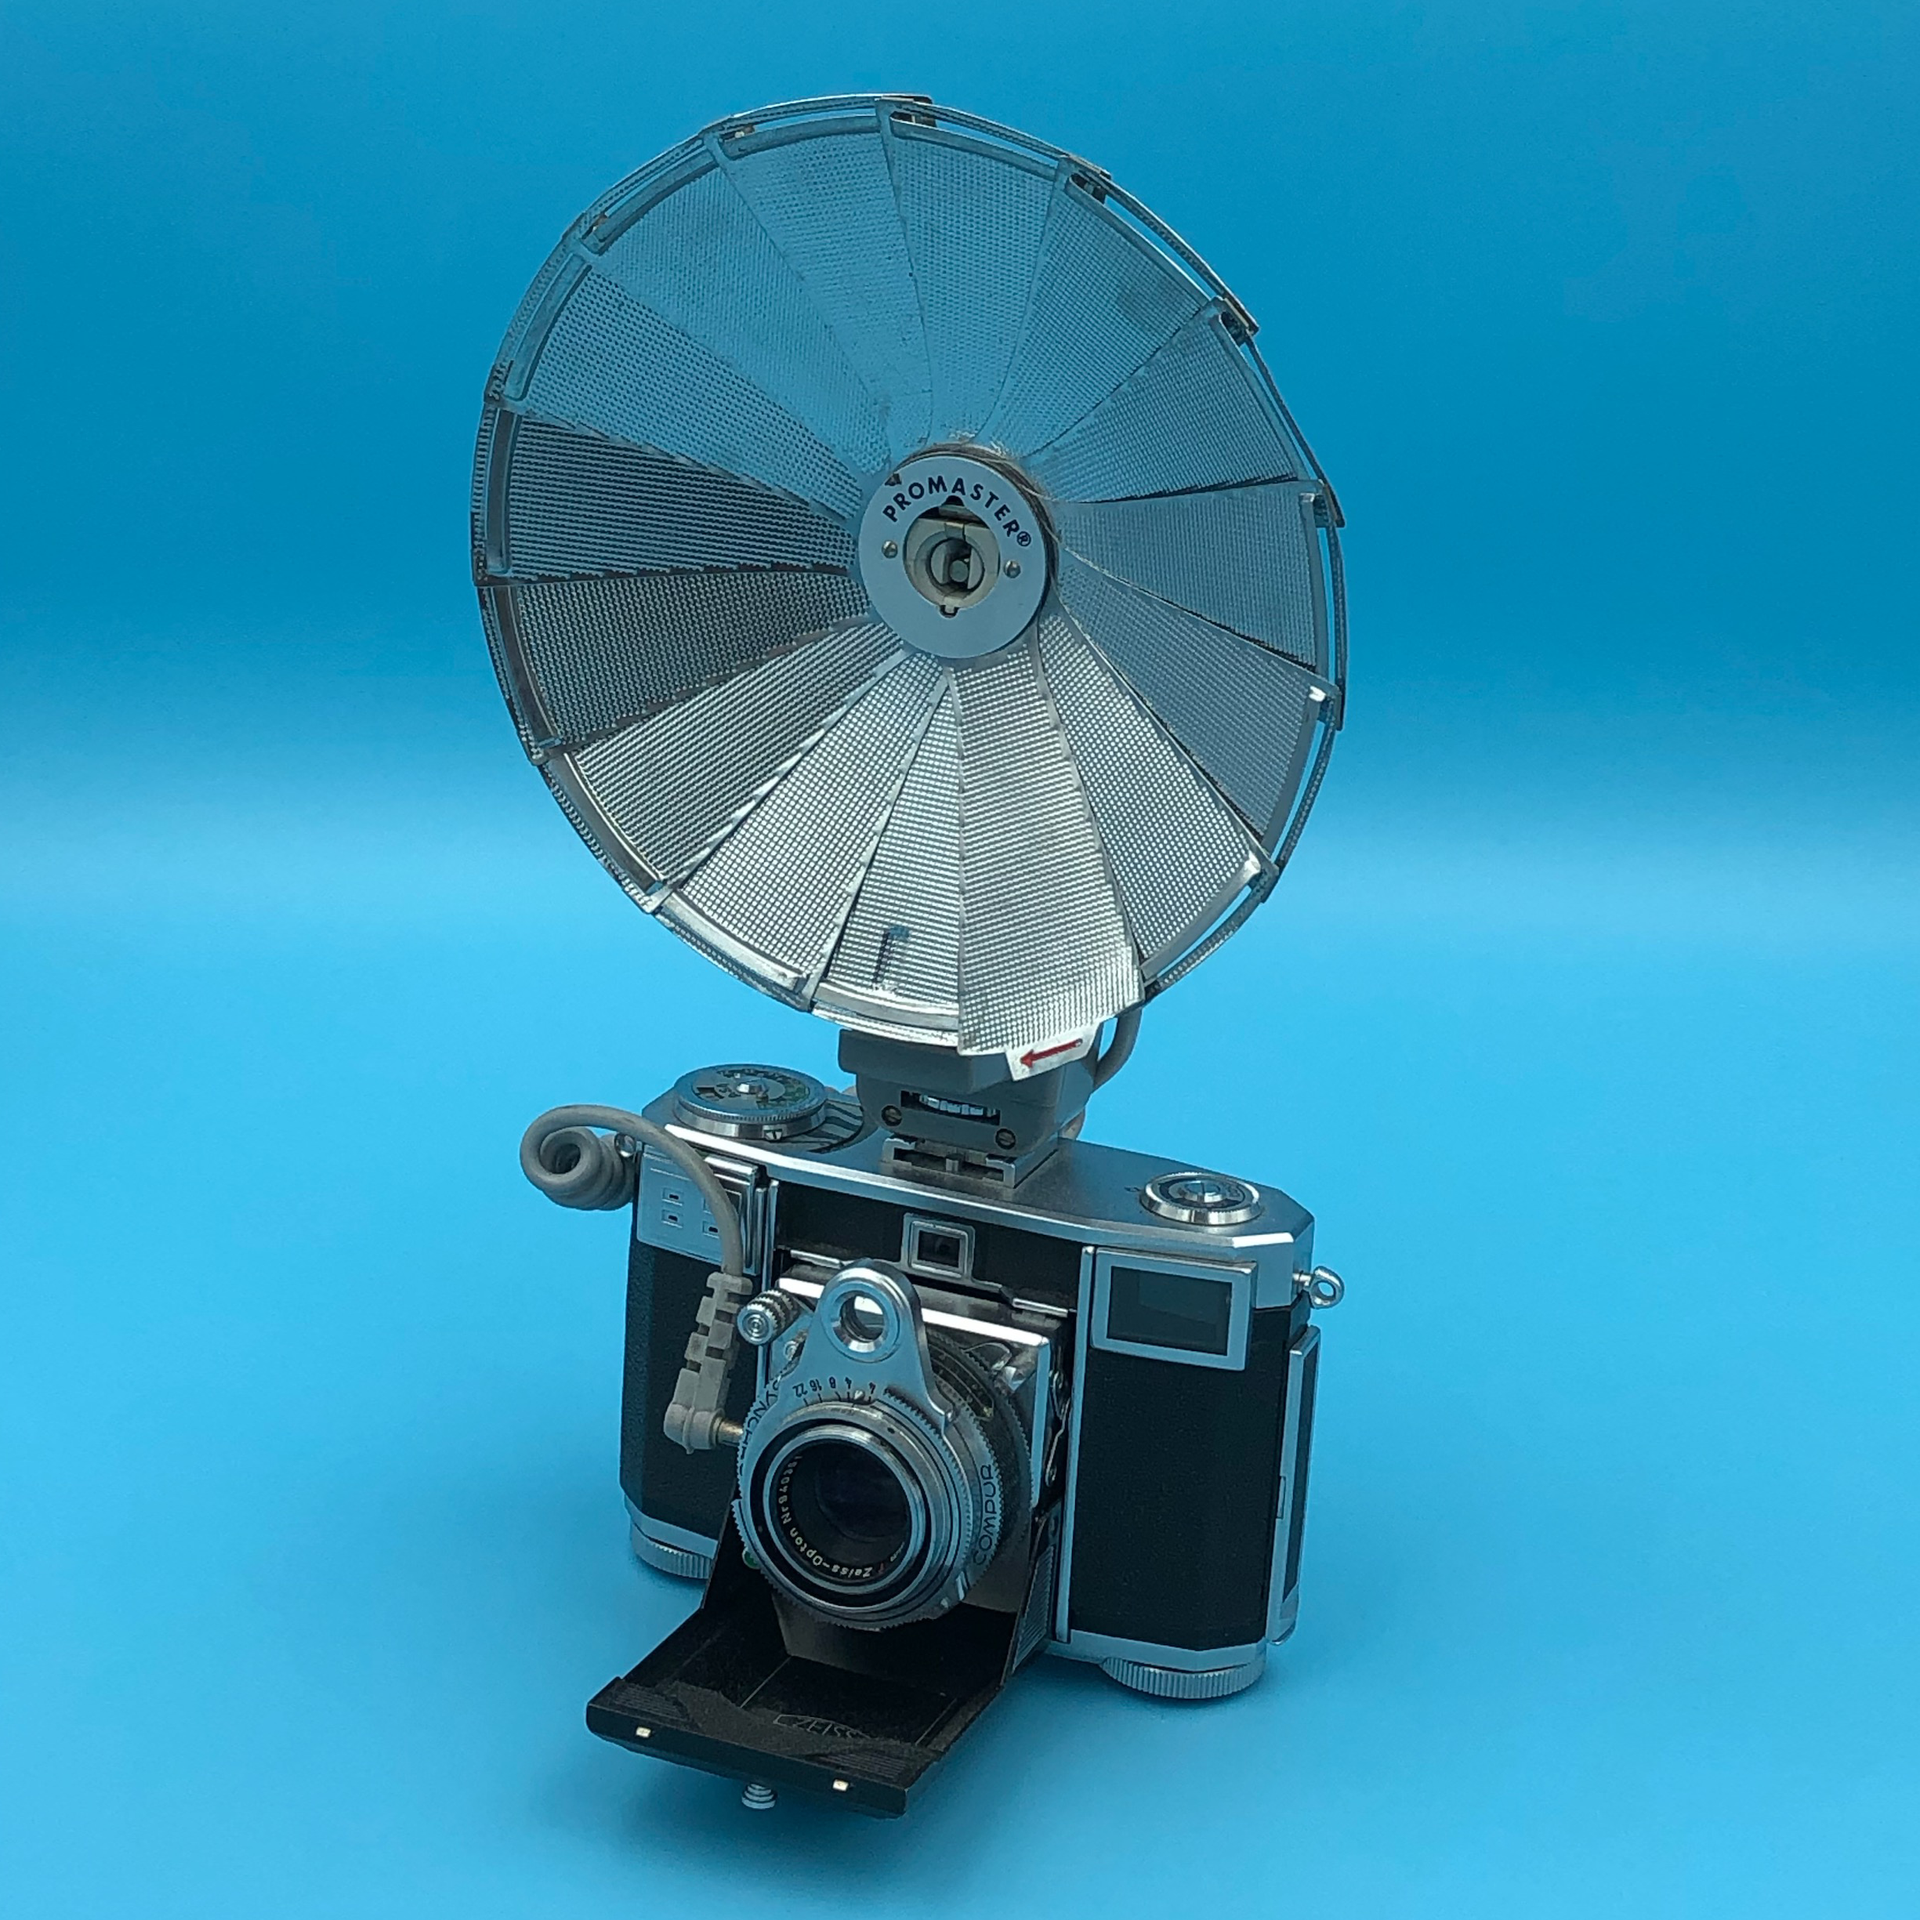
Flash and Lighting: A flash or off camera lighting can be a game-changer in low-light or shadowy situations. Consider LED lighting for color consistency and control.
Reflector Disc: A small reflector can bounce any available light (natural or artificial) onto your subject to give a sense of depth to your images. Use the reflector to fill light or minimize shadows.
Black Card: Use a piece of black paper, cardboard or foamcore to absorb or block light in a way that suits your composition.
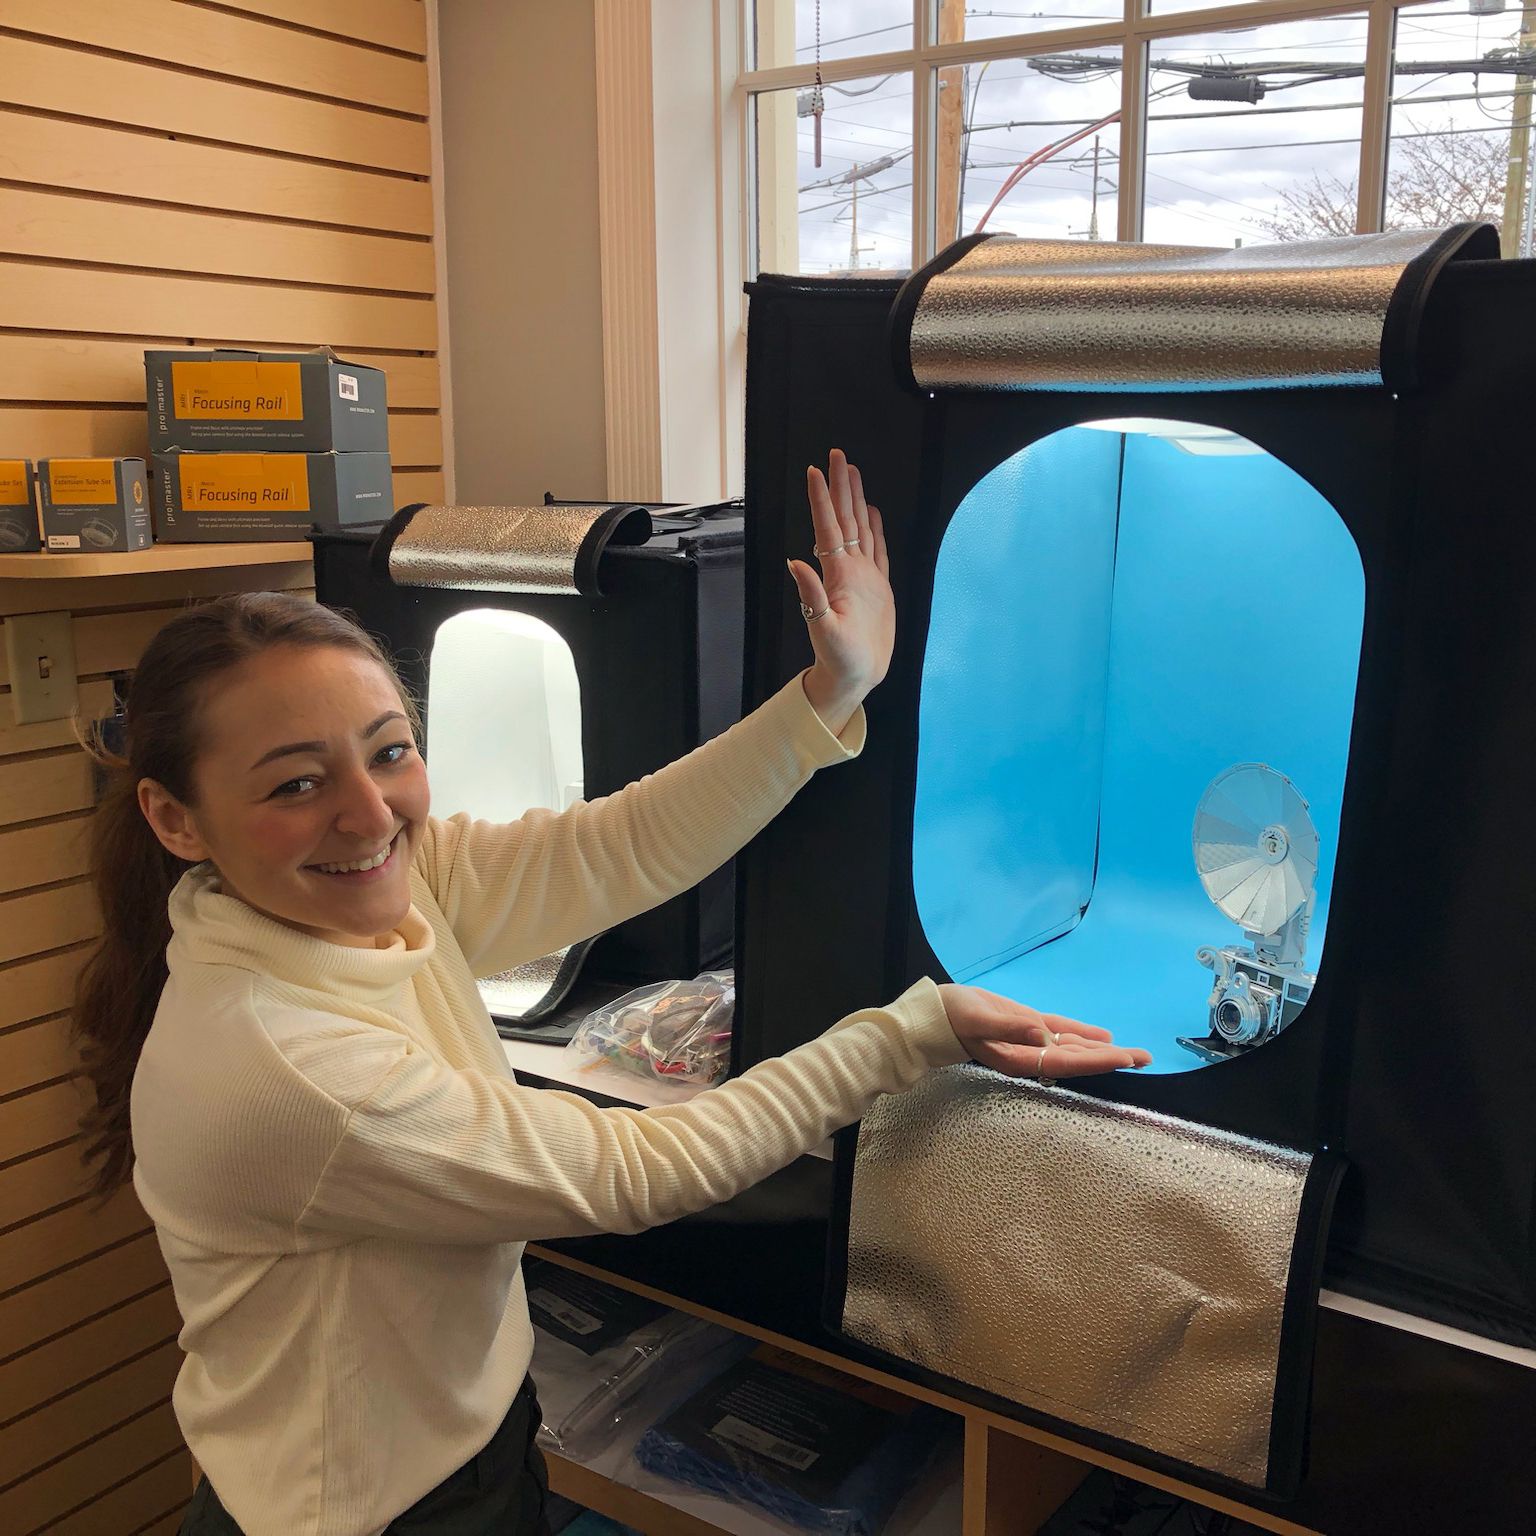
ProMaster Still Life Studio: Take better pictures of any object with the Promaster Still Life Studio. Its seamless background and daylight quality lights create the perfect photographic setting. The self-contained, folding design is super-fast and easy to set up. It folds down and becomes its own carry and storage case when you need to transport or store it. The vinyl backgrounds are swappable, durable, and easy to clean. A must-have accessory for food photography.